Upload and download files
This guide shows you how to upload and download files in BadgerCompute.
Prerequisites
- Access to BadgerCompute
- Location of the files on your computer
Upload files
- Launch BadgerCompute and sign in with your NetID. Choose your preferred environment and click "Start".
- After the notebook loads, you should see the an interface like the one pictured below.
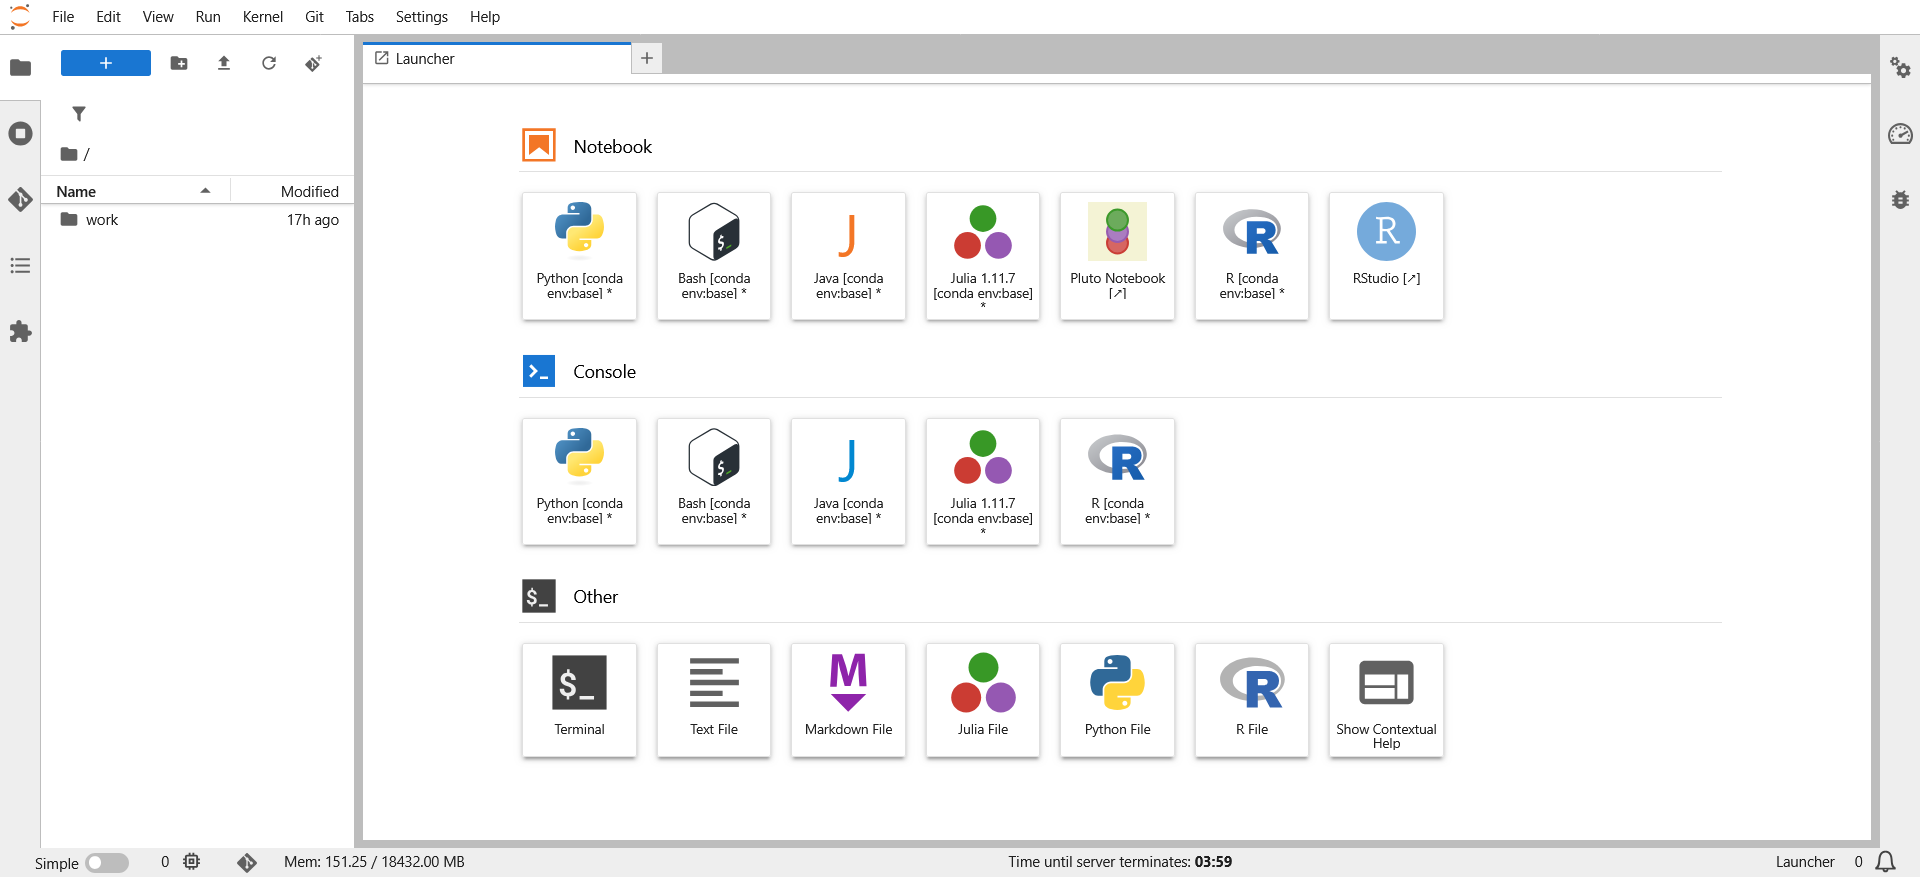
- (Optional) Navigate to the directory where you want to upload your file by double-clicking the name of the directory.
- Click the "Upload" button.

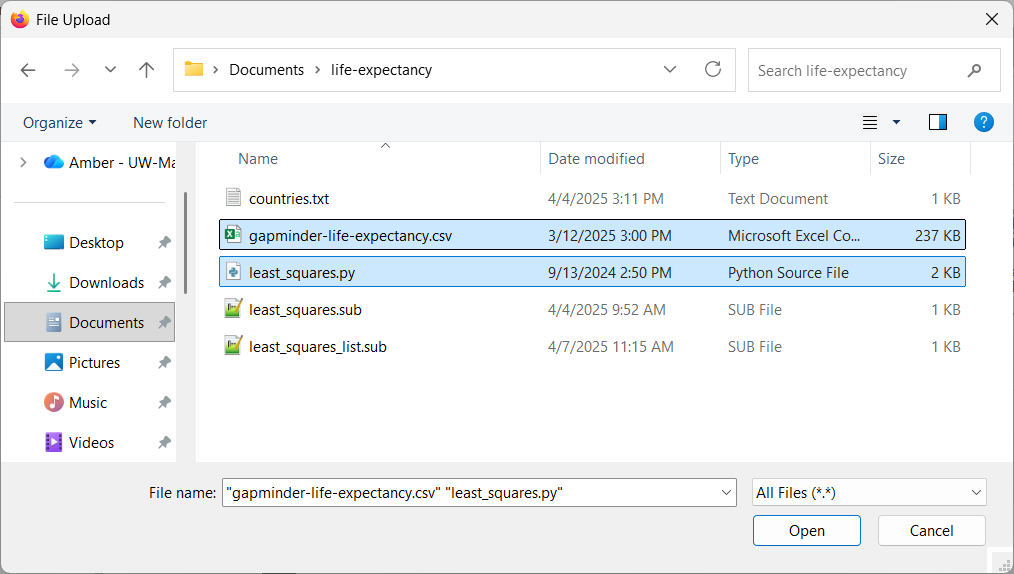
- Use the dialog box that appears to select your file(s) that you would like to upload. Click "Open" to upload your files.
- Once your files are uploaded, you should now see them in the navigation sidebar!
Download files
There are multiple ways to download a file.
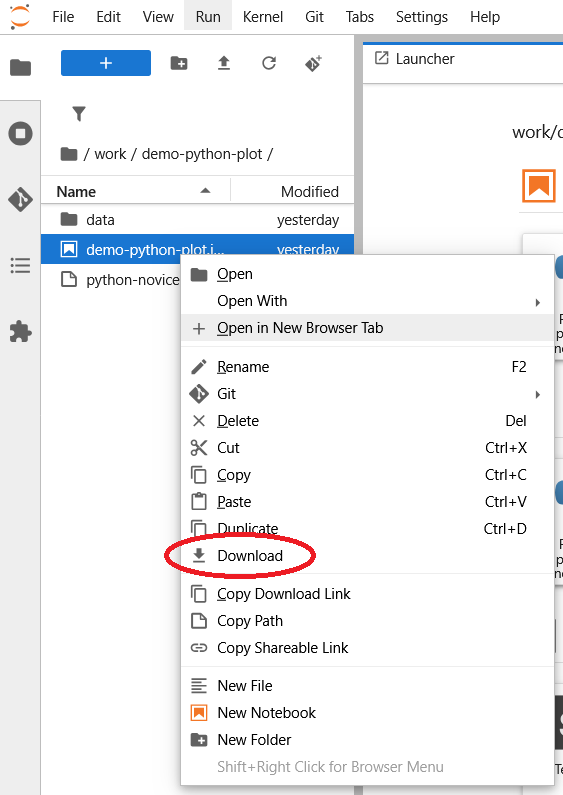
Option 1: Right-click the file you'd like to download. Select "Download" from the context menu.
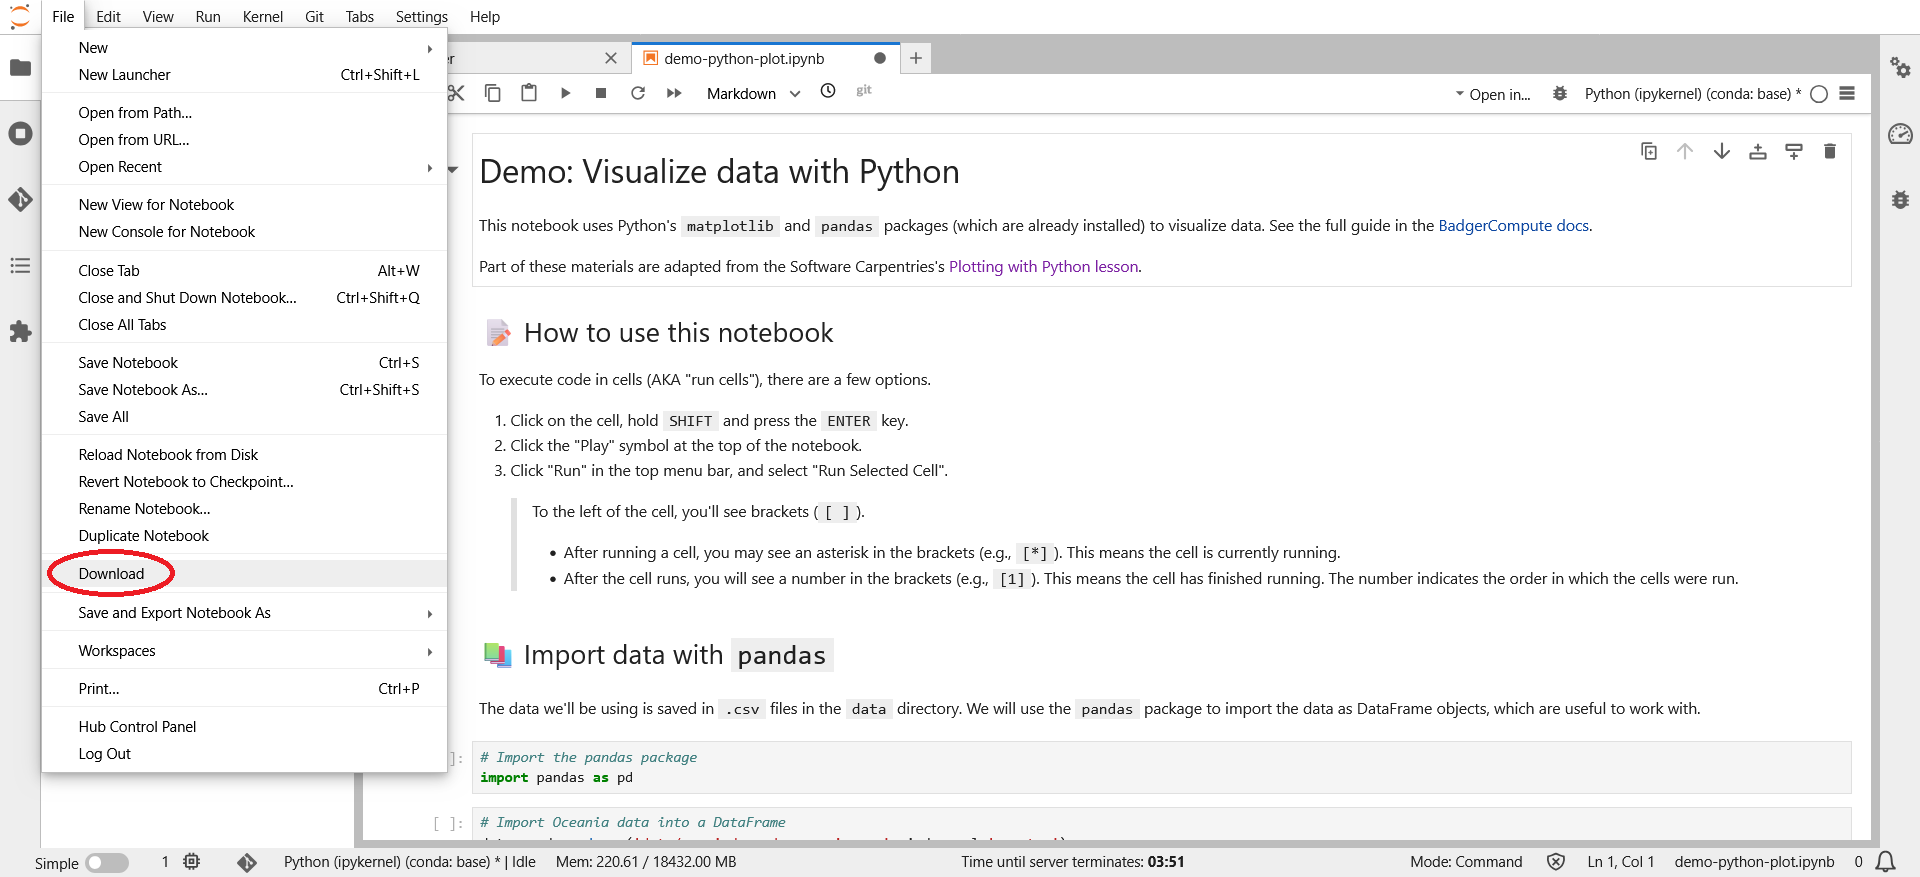
Option 2: When the file is open, go to the top menu bar and click "File" and select "Download".